To learn how to photograph food, you don’t at all need professional equipment, great skills, or even a nice colorful dish. You just need to follow a few simple tips, which are presented in the article below
The prettiest food photographs come out in natural light. It is recommended to take photos in the morning or midday, when the sun is at its highest. Then we are sure that the light is soft, nicely diffused, and the photos will come out bright, with no visible shadows
The best places to take pictures of food are around the window, the kitchen table near the balcony door or the balcony itself. In addition, photographs taken outdoors are considered to be among the best
In turn, you should avoid artificial light, such as flash or spot light from a lamp. Equally bad is led lighting. Food never looks appetizing under such light
One of the basic rules used in taking pictures of food is the principle of tripartition. It involves dividing the photo into three squares, both vertically and horizontally. The intersections of the lines determine the main points in the composition of the photo. This is where the elements that fill the entire frame should be placed. By applying this rule, the photo will be consistent and harmonious
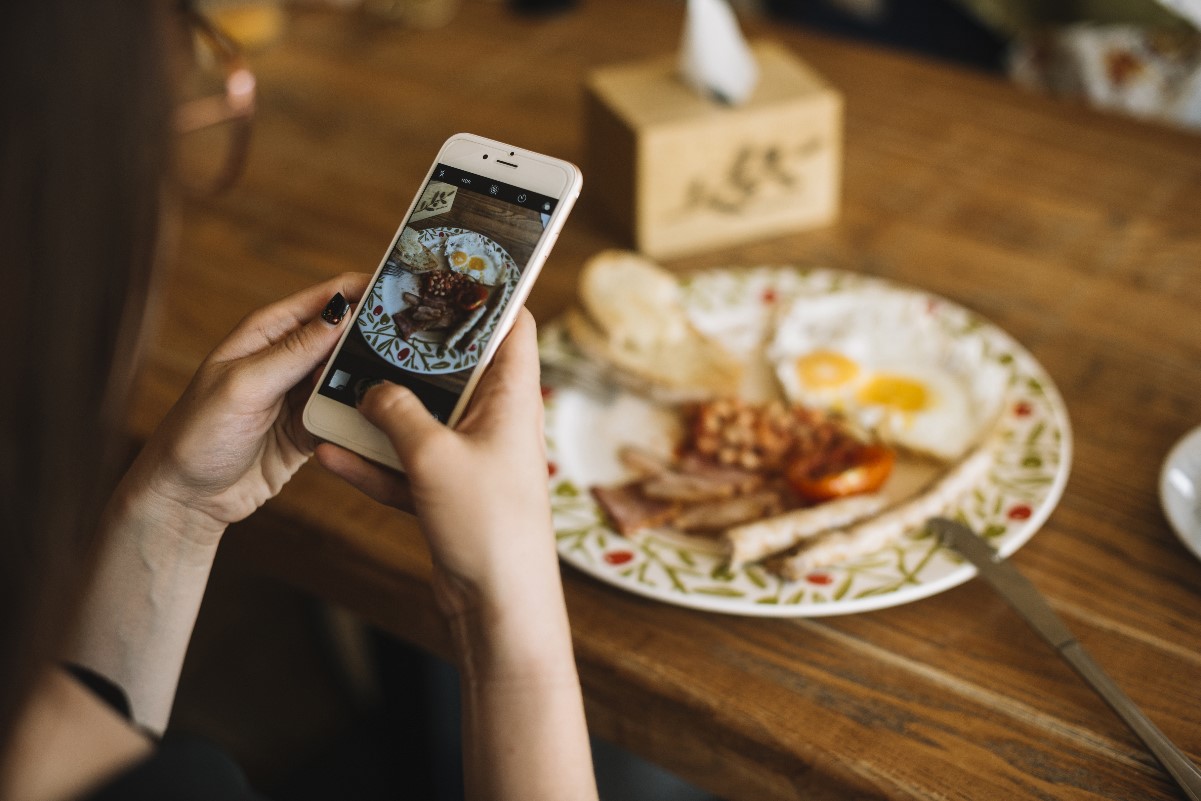
The second composition, which also works well when photographing food, is to place the dish in the central point. The food being photographed should fill the entire center of the frame. It needs to be on the lines of the center rectangle. Most cameras, and even cell phones, have a tri-partition feature. This makes photographing food much easier because you know how it “sits on the grid”
Good looking dishes are unfortunately not the ones we eat ourselves. To photograph a dish that you have made yourself, put a small portion of it on the plate. The ingredients in it should be very visible in the photograph
>> Check: How to hang a TV on the wall?
For example, if you make oatmeal with strawberries and blueberries, then the photo of the mixed mixture will not be aesthetically pleasing. The photo should show the ingredients, namely fresh berries, strawberries and oatmeal. The simplest dish decorated with fresh fruit takes on a completely different character. It is worth putting aside the prettiest leaves, fruits or vegetables, and then decorate dishes with them. A dish decorated in this way pays off to be photographed
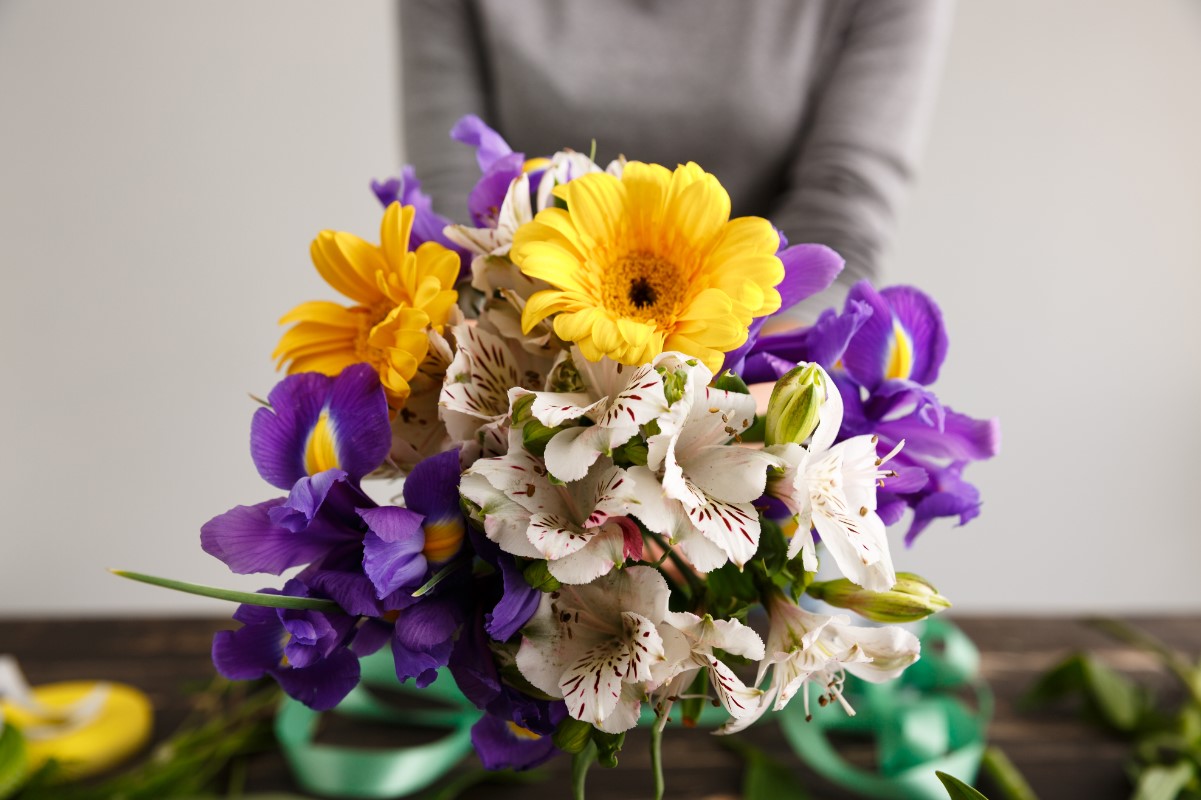
The color wheel is easy to find on the Internet. It tells us about the relationships between individual colors. In practice, it is a compendium of knowledge about matching colors. For the composition of food photos it is extremely important that the colors do not clash with each other
How to use the color wheel? To start with, it is best to use a color triad. These are colors placed equidistant from each other, which means that they will match each other. For example, yellow is a great complement to shades of green and gray, while red looks good paired with white and a dove gray background.
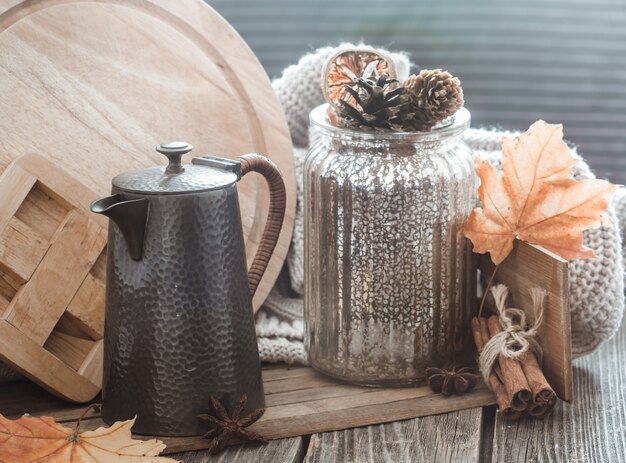
A photographic background can be almost anything. If you are a beginner, we recommend using things around the house. It can be a linen cloth, a cutting board, a piece of wallpaper, or even bedding. The possibilities are countless
For the advanced, it is recommended to buy a variety of pads. Mainly because there is no universal background, often the photographed dish looks bad against white, and much better against a shade of gray
Depending on the style of your photos, you will need different photography accessories. To begin with, it is recommended to look around your home. For culinary photography, white or gray dishes without unnecessary decorations work best. Old mugs, tattered cutting boards, or vintage-style cake trays also look great