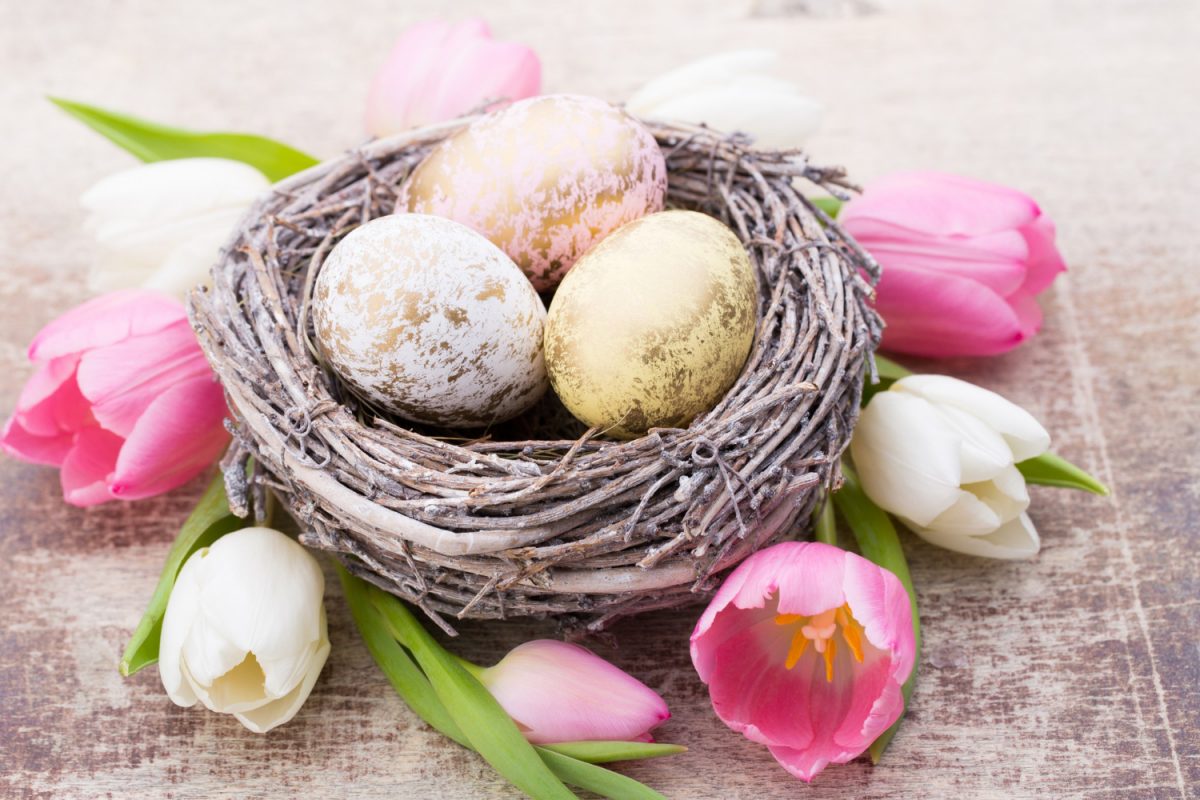
Easter eggs are the highlight of the Easter basket and the Easter table. There are Easter eggs that look beautiful not only after painting their shells, but even after peeling them! Marbled eggs can be done in two ways. One is to focus only on their outer appearance, the other will make the Easter eggs look just as impressive on the inside
Easter eggs with a striking marbled decoration can be made very quickly. The effect cannot be predicted, but that is what makes this method so special. Each decorated egg will have its own unique look, and we will be able to show off our artistic flair to our guests
To create marbled Easter eggs you will need nail polish. We recommend using the ones that are already in our cosmetic trunk. This is also a great excuse to use nail polishes that you don’t use
When creating marbled Easter eggs, white eggs will work best . On them the effect will be most visible. It is true that shells are much easier to paint, but there is nothing to prevent hard boiled eggs from being painted this way
Before you start painting marbled Easter eggs, you need to prepare a plastic container, lukewarm water, nail polish colors of your choice, mixing sticks, protective gloves and eggs.
In the first step, pour lukewarm water into the container. It can be neither hot nor cold, because at extreme temperatures the varnish sinks to the bottom or does not form a film on the surface of the water. Then, pour the chosen color of varnish into the liquid and spread it with a wooden stick. It is recommended to put rubber gloves on your hands and take an egg in your hand. Then apply it to the surface of the water and gently rotate it. The container must be large enough for the egg to rotate in it
Keep in mind that the thicker the varnish, the darker the pattern and the thicker the layer. If the varnish gets very thick on the eggshell, you can gently wipe it off with a paper towel
Soak the eggs in lukewarm water. Then put a thin toothpick into the varnish and rub it against the shell. While doing this the egg must be wet all the time, because only then the varnish will spread on the surface of the shell. The activity of dousing with water should be done several times. Easter eggs decorated with this method look different, and their pattern is more symmetrical. However, it does not make any difference, because in any case they look very impressive
The biggest difficulty is the drying of Easter eggs. Shells can simply be scooped onto something, while with ordinary eggs you have to go to some trouble. They should be left so that as little as possible of them touches another surface
Easter eggs can also be colored on the inside. The marbled interior is very easy to make, and the dyes used for this purpose are all-natural. They come from vegetables and fruits. How to make Easter eggs with a marbled pattern inside? After cooking, the eggshell should be gently cracked and then soaked in the broth. This will allow the dye to get inside and give the Easter eggs a multi-colored pattern. Eggs can be dyed using stock made from beets, onions, tea or red cabbage
Hard boil the eggs with a teaspoon of salt. Then let them cool down. In the meantime, peel and grate the beet. Pour boiling water over it. After the eggs have cooled down, crack the shells gently with a spoon to make tiny cracks in them. Then put the Easter eggs in the beetroot juice so that they are completely submerged. Leave overnight in the refrigerator. In a similar way, you can create Easter eggs in other colors. To do this, you should use strongly brewed tea or red cabbage
Photo source: Designed by Freepik