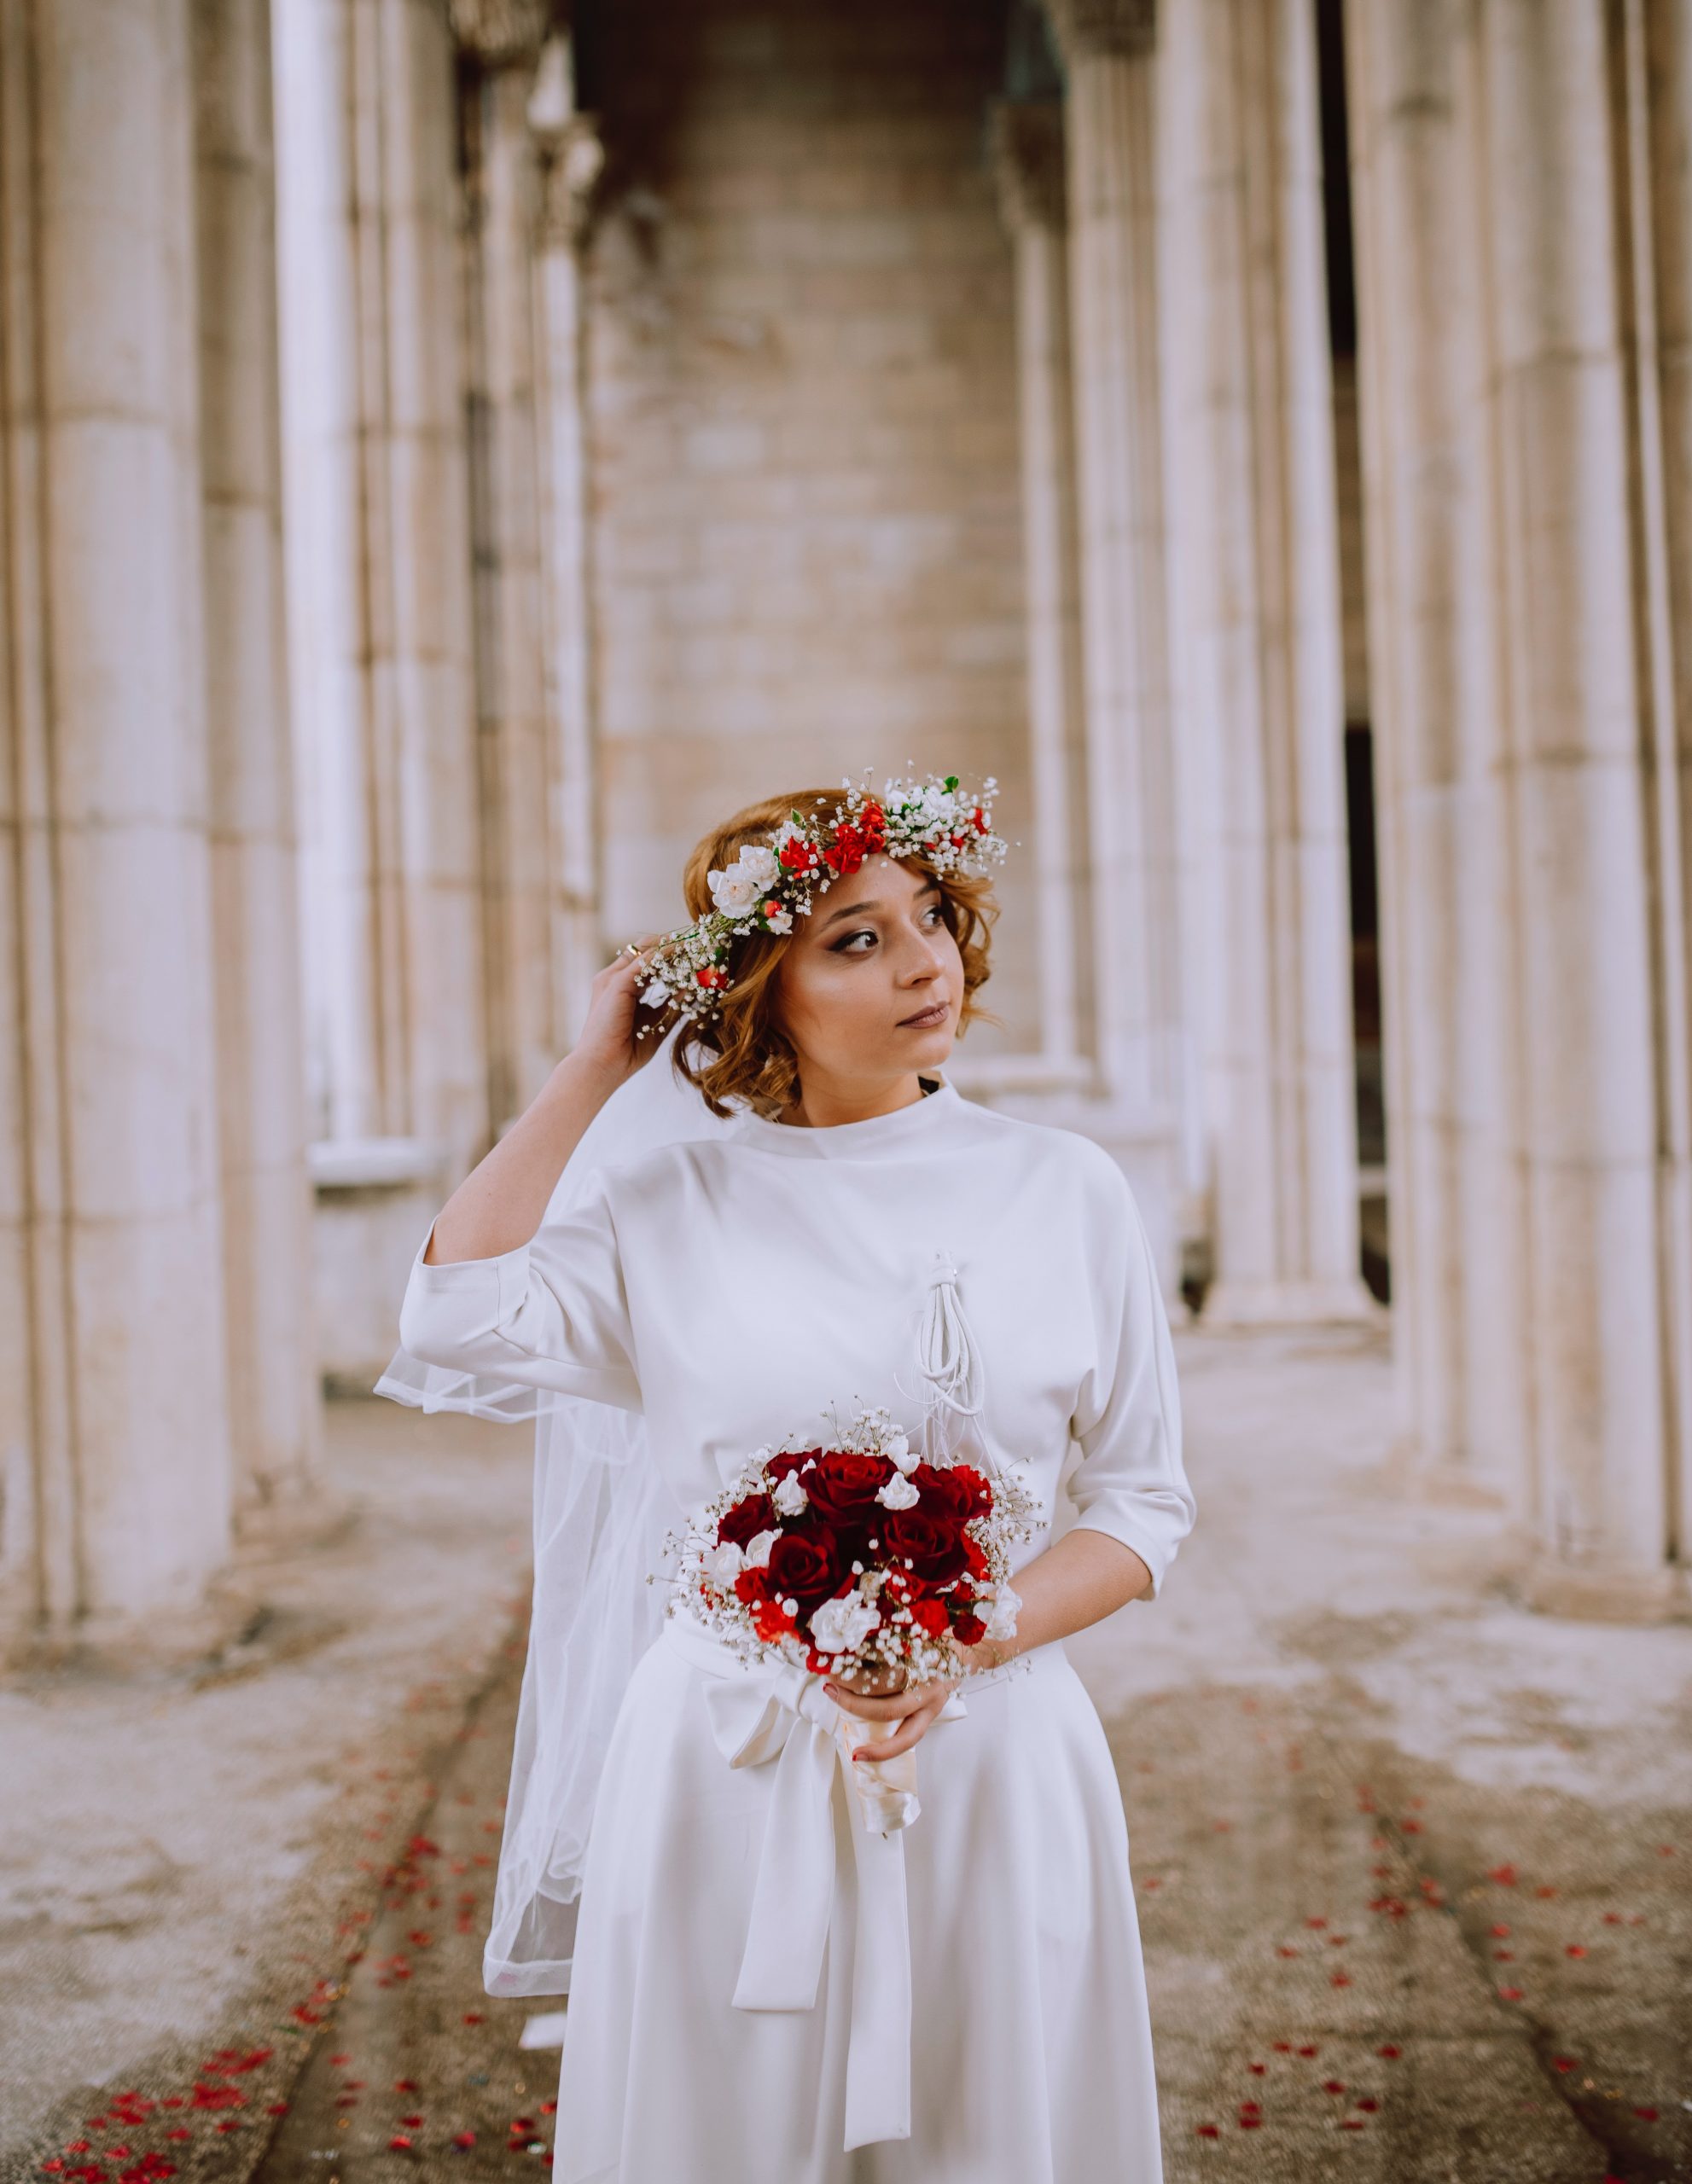
Hair bands are very fashionable nowadays. You can make them yourself – see how!
DIY – or do it yourself. This method is gaining popularity and is based on the idea connected with non-commercial, self-made things, usually for your own use. With summer in full swing and hot days ahead, we come up with all sorts of ways to style our hair. The hair does not necessarily need to be pinned up high in a ponytail or chignon. However, hair tied up with a scrunchy breaks more quickly, is susceptible to tangling and is more vulnerable. How do I take care of my hair in the summer without damaging it? One of the recommended methods is the use of an Alice band to keep unruly strands of hair out of the way while allowing your open hair to “breathe”
On Instagram or in instructional videos on YouTube, we can find inspiration on how to make hair bands. They are not difficult, you just need a little desire and the right materials. As it is summer, an interesting option will be to make a colorful version, namely a headband with flowers. How to do it step by step?
First of all, to make such a headband you don’t have to buy expensive materials, but you can make it out of things which I’m sure each of us has at home. It’s up to you what material you will use, but since it’s summer, it would be better if it was thinner. The best option is to use an unused cotton T-shirt. The color is arbitrary, we are limited only by our own imagination
Prepare a rectangular cut, double-folded piece of material from our cotton T-shirt. To this a hair elastic (it’s not a terry, but rather an elastic band on a thin string) and some decorative elements, for example, they can be colorful ribbons. A necessary tool to start our work will be of course scissors
From the prepared material cut fairly thick strips, three pieces (preferably 1 cm wide). After cutting it is good to slightly stretch the cotton strips, so that their edges are slightly folded. Secure them with a knot on the prepared hair elastic and braid them. When you have finished braiding the strips, braid the other end of the braid on the rubber band
Once you have trimmed away the rest of the overhanging material, you are almost done with the hairband. However, it is still a good idea to decorate it a bit. Nowadays it is popular to decorate it with flowers, a bit in boho style, which definitely reigns during this holiday season. Small, decorative flowers can be pinned on the whole length of the headband or only at its ends. It depends on your vision how you want to decorate your headband. We recommend you to decorate it with live flowers, you can buy special ones, so called flower decor, but what for if you can add field flowers. After all, we made our hair accessory using the DIY method, so from start to finish on our own and at the lowest possible cost
Main photo: Nika Zhorzholiani/pexels.com