You can find literally anything on the internet. More than one website offers starter packs for decoupage technique. In them you will find everything you need to start your adventure. Wondering if it is worth spending money on this type of kit? In this article we will tell you what is decoupage and what a beginner cannot do without
Decoupage is a technique of decorating a properly prepared surface with various paper patterns. Usually thin napkins or rice paper are used for this purpose. Then the decorated surface is covered with many layers of varnish, in such a way that the pattern blends into the background and is undetectable under the hand. When finished, the whole should look like a painted picture. Decoupage is an extremely simple technique for decorating surfaces made of various materials, ranging from glass, through wood and ceramics, to fabrics
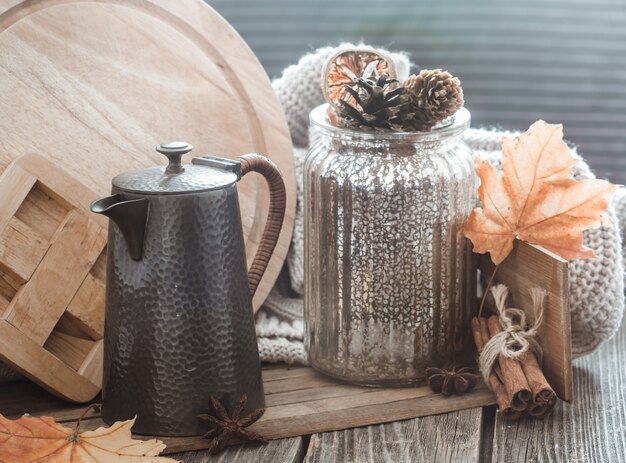
Is it worth buying a whole arsenal of necessary accessories? Not really, because at the first stage we will need only basic tools. It is worth starting your adventure with preparing the simplest elements. This may be a cup holder or a small board. The materials we choose should also be small in size. First, it is better to check whether this technique will appeal to us at all, before spending money on all the accessories
To begin with, it is worth buying materials of small size. We are talking about
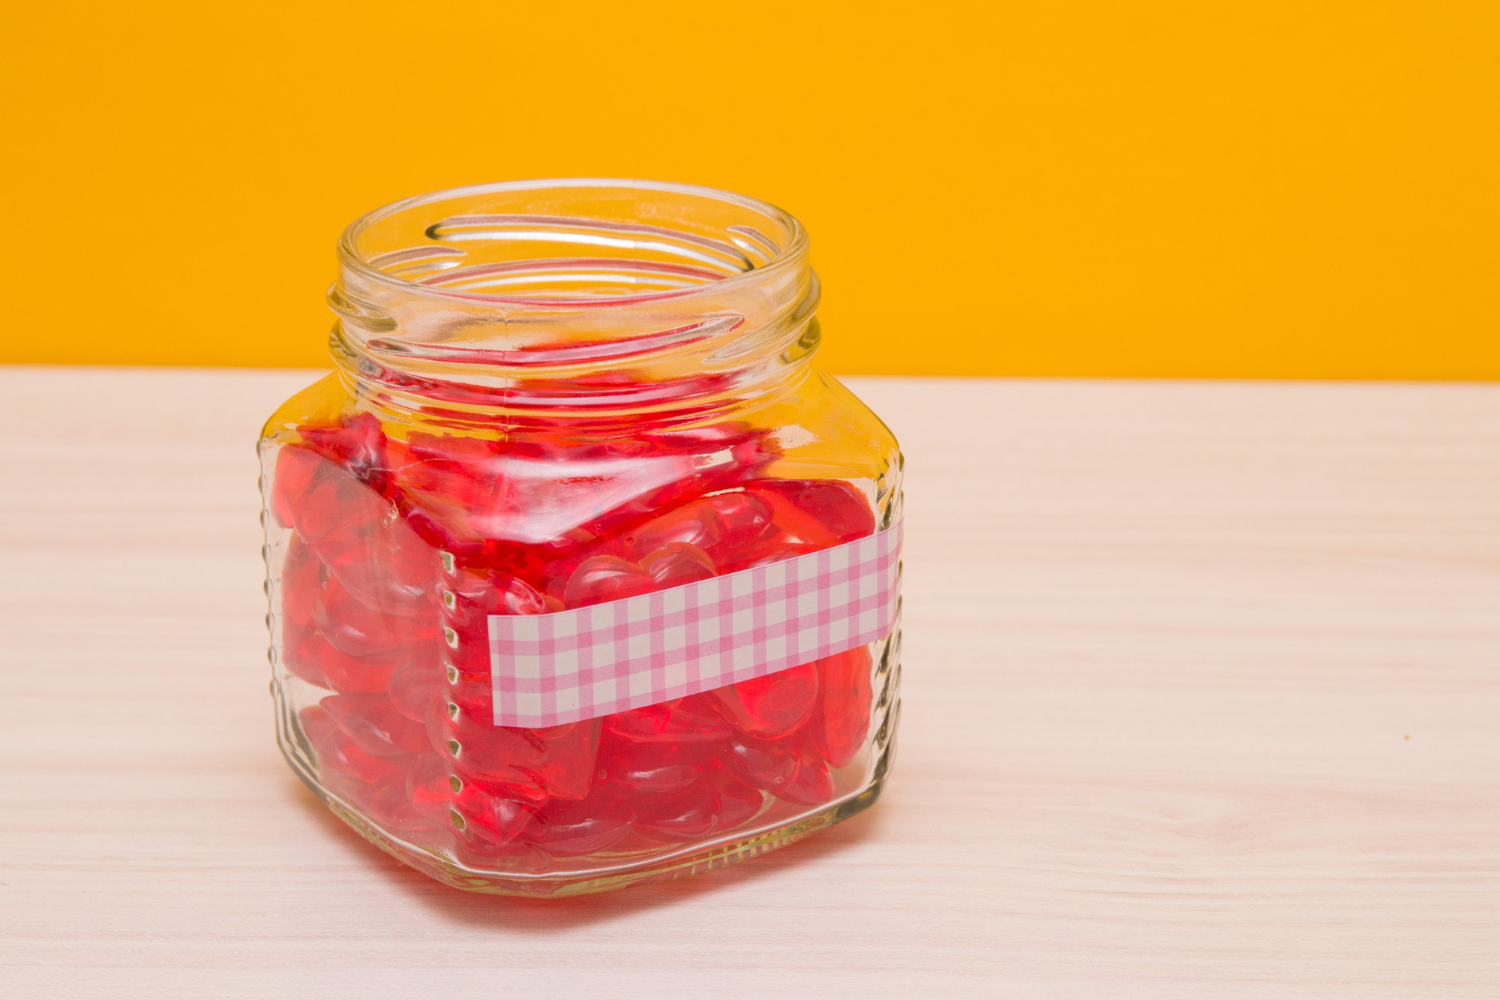
Let’s remember about the base to create decoupage. These can be homemade elements, but if you don’t have any, there are cutting boards, bookmarks for decoupage, wooden hangers or boxes available in stores
Making your first decoration with this technique is not that difficult. It does not require great manual skills. In decoupage is more useful precision and patience. Decorating with this technique is always time consuming. We must remember that after each application of a layer of paint, decorated surface must dry, and it takes at least a few hours. Then the whole thing is protected with water varnish. At the beginning, we start with the simplest decorations. When you reach precision, it is worthwhile to become interested in more advanced methods, such as wood aging or lace decorations. Below we show you how to decorate your first surface in decoupage style step by step
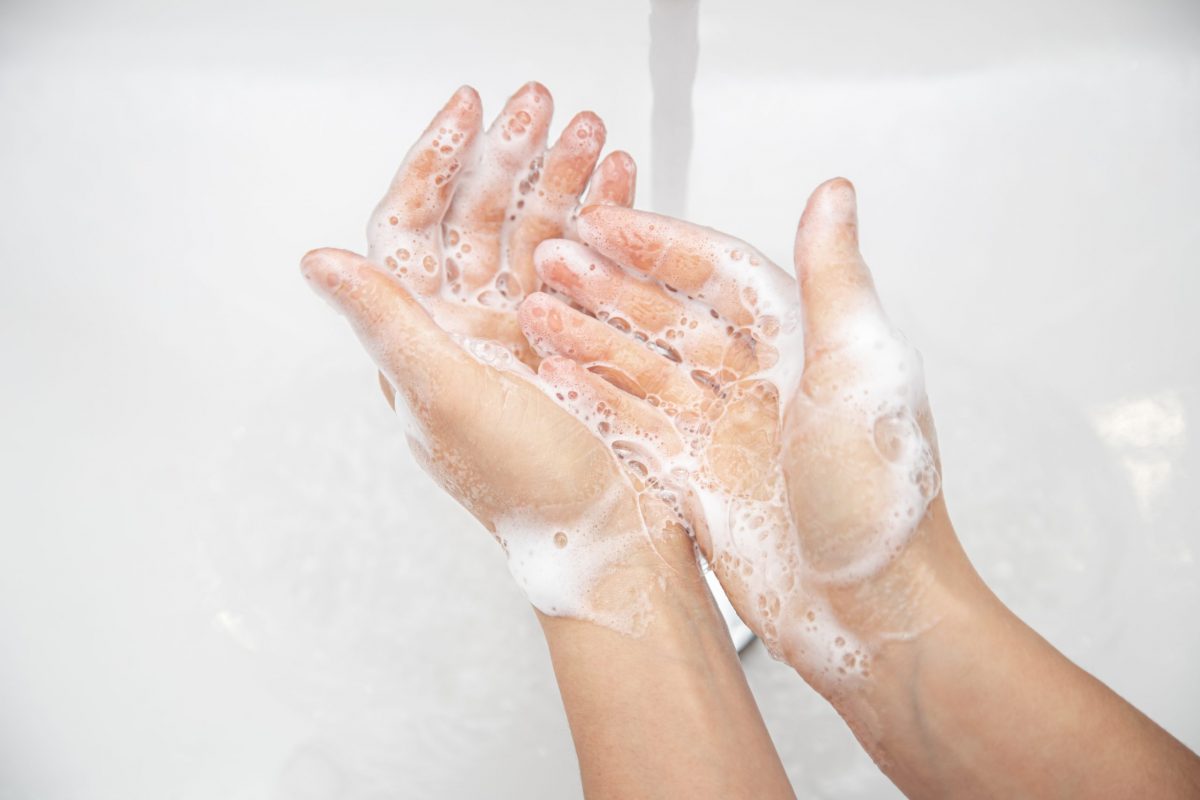
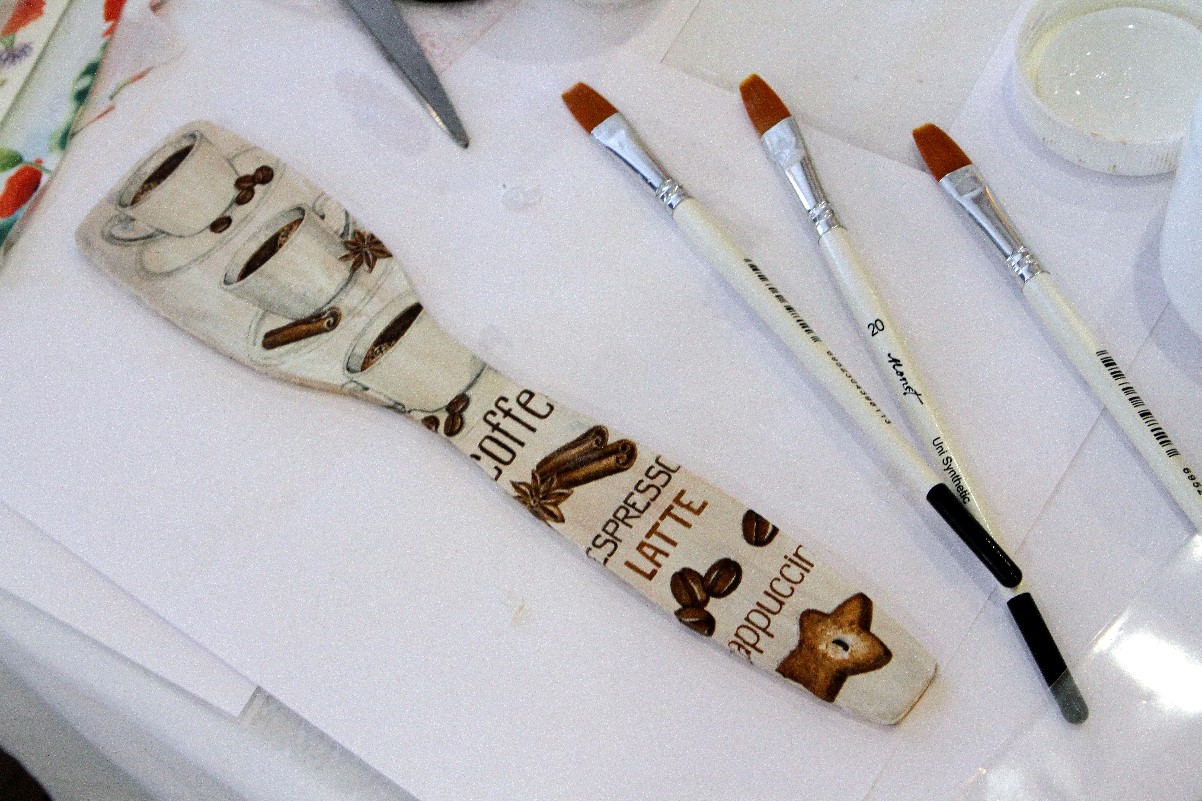
Choose something simple as your first decoration. It could be a small cup holder, a wooden tag or a bookmark. If you are using a wooden surface, rub it down with sandpaper. If you are using old surfaces, we recommend that you wash them additionally with water and detergent or wipe them with alcohol.You can also apply light acrylic paint on them beforehand
Adjust the size of the napkin to the surface to be decorated. When the napkin consists of several layers, separate it to make it as thin as possible
Attach the cut-out napkin to the surface to be decorated. Start applying glue from the center and work your way to the edge of the ornament. The product should be applied with a soft bristle brush. Try to make its layer as thin as possible, because you can not damage the delicate motif of the napkin
When you have applied the first layer of glue, wait for it to dry completely. It is best to put several layers of varnish on the prepared decoration, so that the motif looks as if painted on a wooden surface. Once the item is dry, remove any lumps with sandpaper. You can add a ribbon or string to the ornament. This will create your first decoupage ornament!
Photo source: Mykola Miakshykov / Ukrinform/Barcroft Media/Getty Images