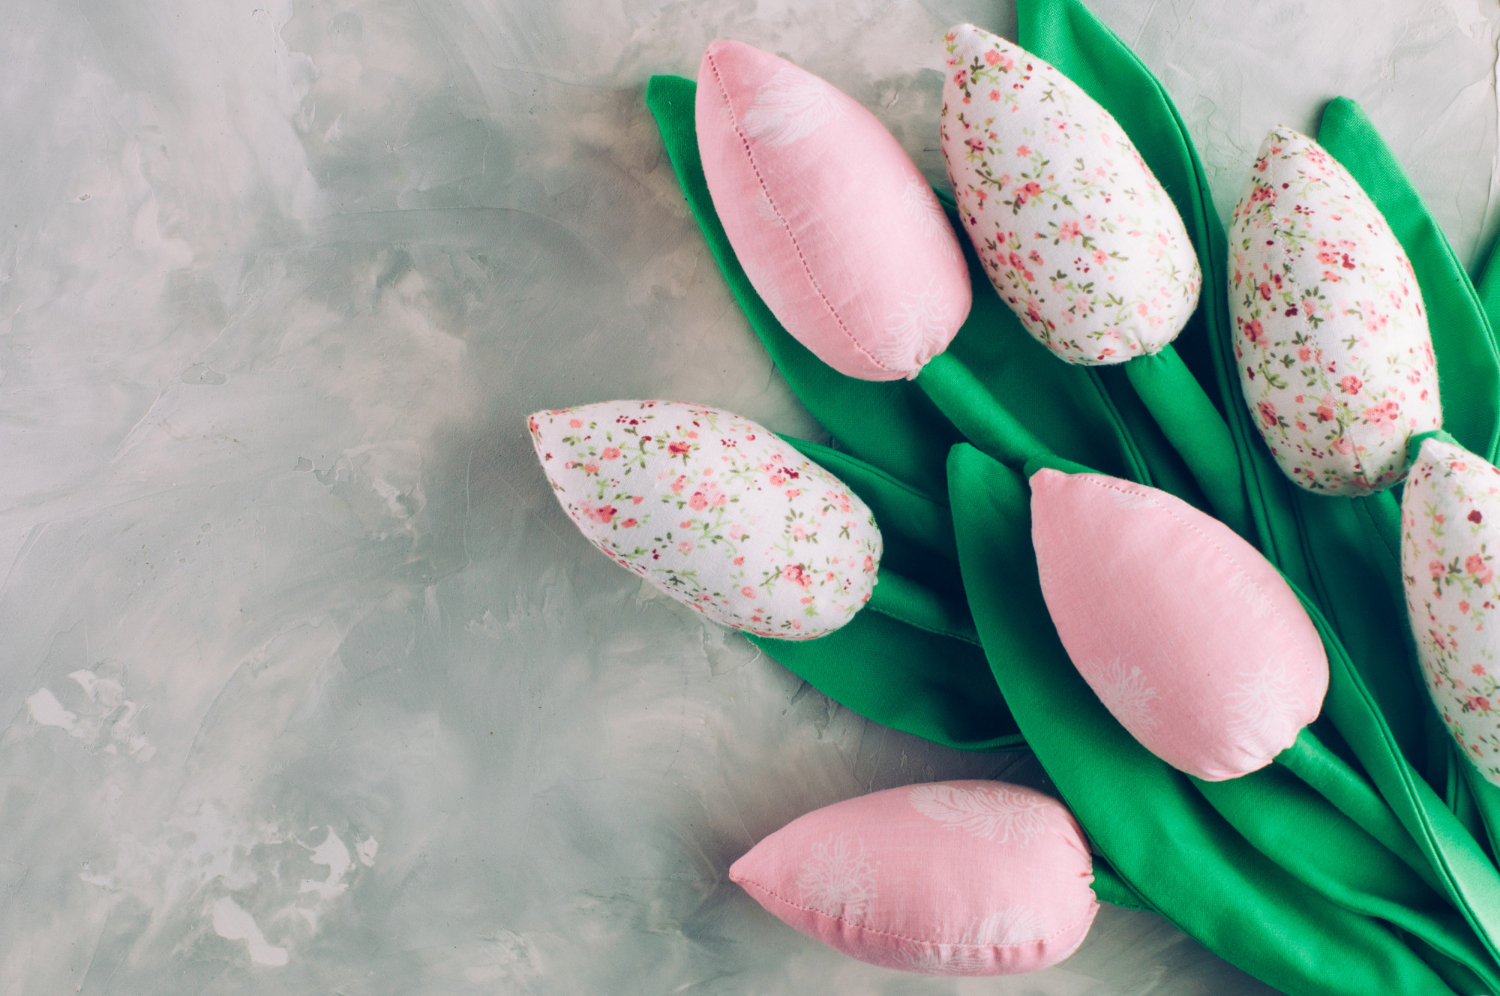
Fabric tulips are a striking decoration for your home. Moreover, they are also extremely simple to prepare
Flowers can be created in many ways. In our article we presented the easiest one. Even beginners can cope with it. We encourage you to decorate your apartment with bouquets consisting of 3-5 tulips. We guarantee that decorations can last even a few years
Fabric tulips are a decoration that can be created in several different ways. When choosing materials, it is worth following the principle of reuse, that is, reusing fabrics. Thanks to that tulips will be not only a beautiful decoration but also an element of the zero waste trend
To begin with, it is worth downloading a tulip pattern from the website. Of course, there is no obstacle to design the flower yourself, following only the drawings available on the Internet. Usually the size of a petal is 6 × 8 cm, and the length of a stem corresponds to a tube. Similarly, the length of the leaves surrounding the flower is the same. The easiest way is to apply the pattern to the fabric, trace it on the fabric, then stitch, and only then cut out the given shape. Below are the dimensions of the fabrics
The whole should be about 30 cm.
Next we move on to creating the leaves. Lay the pattern on the fabric and trace the shape on it. The fabric must be double folded and the drawn leaves should be facing right sides together. Then, following the pattern, stitch the fabric with a straight stitch. The bottom must remain open. After sewing, cut off the shape of the leaf. The edge should be about 0.5 cm from the straight stitch. Often there is excess material left on top of the leaves, it should be gently trimmed with scissors. Then turn the leaves to the right side. If the material is wrinkled, iron it
The next step is to sew the stems. Using a pencil, trace the shape of the stem. If our template is shorter than the length of the tube, just move it further out. Then, on both sides of the drawn template, leave about 1-1.5 cm of free space. Fold the stem in half and stitch along its entire length. In this case, it is important to do everything on the left side of the material, and only after sewing turn it over to the right side (a safety pin works great). Finally, tubes can be inserted into the sewn and turned tunnels to stiffen them
The second way to create stems is to glue the fabric to the tube. Glue a straw on one end of the fabric and wrap it around the fabric. Once the stem wraps around the entire tube, the fabric can be stretched and glued with clear glue
The last step is to sew the tulip heads. For this purpose, it is worth choosing different colored fabrics, associated with spring. At the beginning you should trace a template on a double folded fabric. Each traced shape should be pinned in the middle. Then, following the contours, sew the flower petals together. As in previous steps, do not sew the bottom. The next material petals cut out, from the edge of sewing to the edge should remain about 1 cm gap. Then turn all the elements to the right side and fill with cotton wool
When all parts are ready, start to combine tulips into a whole. First connect the heads with the stems. Thread the bottom of the flowers onto the ends of the stems. The tulips must have the bottom part of the head open. Next, connect the stem to the head with a thread, that is, stitch the bottom of the inflorescence, while tightly wrapping the stem. Then it’s time for the leaves. Pin them to the stem with a pin, and then sew them tightly with thread. Voila! That’s it! Our first fabric tulip is ready!
Photo source: Designed by Freepik